Welcome to the wonderful world of candle making! If you’ve ever walked into a room filled with the warm, inviting glow of candles, you know how they can transform the ambiance of any space. In this guide on how to make soy candles at home, you’ll discover why soy candles have become a favorite among enthusiasts due to their eco-friendliness and ease of use. This guide will take you through the ins and outs of making your own soy candles, from gathering supplies to adding your personal touch. So, roll up your sleeves, and let’s get started!
Why Soy Candles?

Why should you consider making soy candles over traditional paraffin ones? For starters, soy wax is renewable and biodegradable, making it a more environmentally friendly option. It burns cleaner and longer, reducing soot and smoke in your home. Plus, soy wax holds fragrance beautifully, allowing you to create delightful scented candles. So, not only are you being kind to Mother Earth, but your candles will smell amazing, too!
Learning how to make soy candles at home not only allows you to enjoy the process but also gives you the satisfaction of creating something beautiful and useful.
Another benefit of soy candles is their ease of creation for beginners. The melting and pouring process is straightforward, making it a fun project whether you’re flying solo or planning a crafty get-together with friends. And let’s not forget the joy of customization—you can choose your favorite scents, colors, and containers, making each candle a unique masterpiece. A great idea for a party!
What You’ll Need
Before diving into the candle-making process, let’s gather our supplies. You’ll need:
- Soy wax flakes (make sure to get wax specifically for candle making, I linked a popular type here)
- Fragrance oils (choose your favorites—lavender, vanilla, or something adventurous! Just be aware of the chemicals in the oils. Get fragrance oils tested and certified to be non-toxic)
- Candle wicks (cotton or wood, depending on your preference, don’t forget the wick stickers!)
- Containers (jars, tins, or molds—let your creativity shine!)
- A double boiler (or a dedicated wax melter if you want to get fancy)
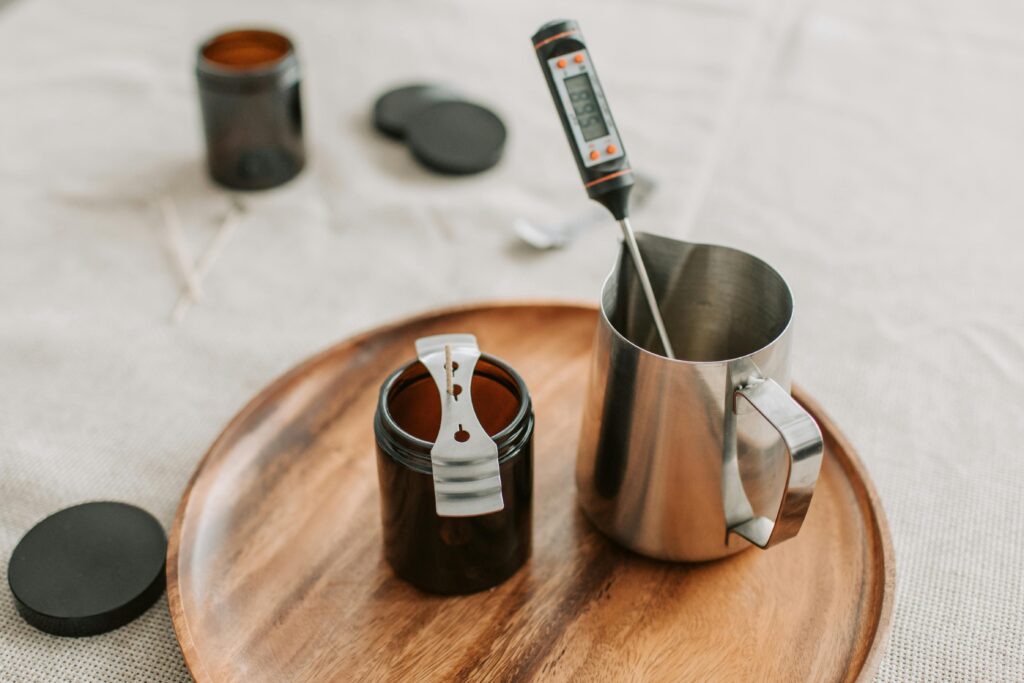
- A thermometer (to ensure the wax is at the right temperature)
- A stirrer (a wooden spoon or popsicle stick will also do, just be prepared to not use this again to eat with or serve food)
- A food scale (for measuring wax and fragrance accurately in oz or grams)
With your supplies in hand, you’re ready to embark on your candle-making journey!
Getting Started with Soy Candle Making
Gather Your Supplies
The first step in your how to make soy candles at home adventure is to gather all your supplies. Organizing your workspace will help the process go smoothly, ensuring you have everything at your fingertips. Find a flat surface to work on, and cover it with newspaper or an old tablecloth to catch any spills. You don’t want to be scraping wax off your favorite table for weeks!
Once you’ve got everything organized, lay out your containers, wicks, and fragrance oils. Having a clear view of your tools will make it easier to mix and match scents and colors. Don’t forget to have a few extra wicks on hand—sometimes things go awry, and it’s good to have backups at the ready! With a little preparation, you’ll be well on your way to mastering how to make soy candles at home like a pro.
Choosing Your Candle Fragrance
Choosing the right fragrance is one of the most exciting parts of candle making. Whether you’re drawn to floral scents, comforting spices, or refreshing citrus notes, the options are endless. When selecting your fragrance oils, make sure they are specifically designed for candles to ensure proper blending and scent throw. You can even blend different oils to create a unique scent that reflects your personality! Additionally, always check your fragrance oils for toxin-free certifications to ensure that your candles are safe and free from harmful chemicals, contributing to a healthier environment for you and your friends, family, and/or customers.
Step-by-Step Instructions

Melting the Soy Wax
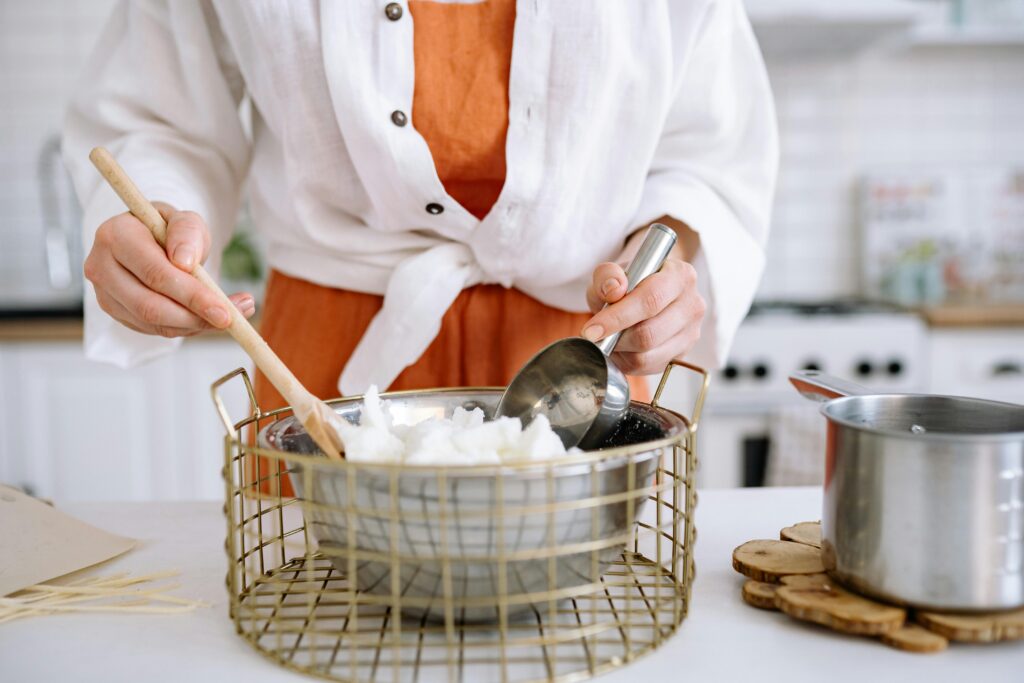
Now that you’ve got your supplies and fragrance picked out, it’s time to melt the soy wax. Fill the bottom pot of your double boiler with water and bring it to a simmer. Measure out your soy wax flakes (a good starting point is 1 pound) and place them in the top pot. Stir gently as the wax melts, watching for any clumps. This process typically takes about 10-15 minutes, so be patient and enjoy the delightful aroma as it begins to warm up.
Keep an eye on the temperature using your thermometer; soy wax should be melted to around 170-180°F (77-82°C). This is the sweet spot for adding fragrance, allowing for optimal scent retention. Once the wax is fully melted and reaches the right temperature, remove it from heat and prepare for the next step.
Adding Fragrance Oils
Once your wax is melted, it’s time to incorporate the fragrance oil. Carefully measure out your chosen scent and pour it into the melted wax, stirring gently for about 30 seconds to ensure an even distribution throughout. It’s essential to mix it well, as this will help the scent throw when your candle is burned. If you want to add color, this is also the time to do it—just a few drops of candle dye can go a long way!
Keep in mind that some fragrances can affect the burning quality of your candle, so always test a small batch first if you’re experimenting. It’s like a science project—sometimes you hit gold, and other times, well, let’s just say it might be a lesson learned! But that’s all part of the fun of candle making.
When it comes to scent load rules, remember that the ideal fragrance load for candles typically ranges from 6% to 10%, depending on the type of wax you are using. It’s essential to test different percentages to find the perfect balance for your desired scent throw. Here is a handy tool to help you effortlessly figure out how much fragrance oil to add to your wax.
Preparing the Wick
While your wax sits for a moment, it’s time to prepare the wick. Cut your wick to be about 2 inches taller than your container, allowing for a secure hold and easy trimming later. Use a wick holder or a pencil to keep the wick centered while the wax is poured. This is crucial for an even burn; you don’t want one side of the candle to melt faster than the other!
For added security, you can dip the base of the wick into the hot wax before placing it in the center of your container. This will help it stick better once the wax is poured. Secure the wick holder in place, and you’re all set for the next step!
Pouring the Wax
Now comes the moment we’ve all been waiting for—pouring the wax! Allow the melted wax to cool down to about 140-150°F (60-65°C) before pouring it into your container. This temperature helps prevent cracking and ensures a smooth surface. With a steady hand, slowly pour the wax into your container, being careful not to disturb the wick. Leave a little space at the top for any additional decorative elements you might want to add later.
Once the wax is poured, let it sit undisturbed. Your candle will begin to solidify, which can take anywhere from 2 to 4 hours depending on the size of your container. Patience is key here; don’t rush the process! You’ll be very tempted to poke at it, but resist the urge!
Setting and Curing the Candle
After the wax has fully cooled and hardened, it’s essential to let your candle set for a while. Ideally, you should allow your soy candle to cure for about 48 hours before burning it. This process helps the fragrance to fully bind with the wax, enhancing the scent when lit. Think of it as letting a fine wine breathe—it’s just better that way!
Once cured, trim the wick to about 1/4 inch above the wax surface. This will help achieve a clean burn and prevent excessive soot. If you’re learning how to make soy candles at home, maximizing scent throw is key—experts recommend leaving your candle covered for two more weeks for the best fragrance diffusion. Otherwise, your candle is now ready to light up your life—or someone else’s, if you’re feeling generous!
Creative Tips for Personalizing Your Candles

Coloring Your Soy Candles
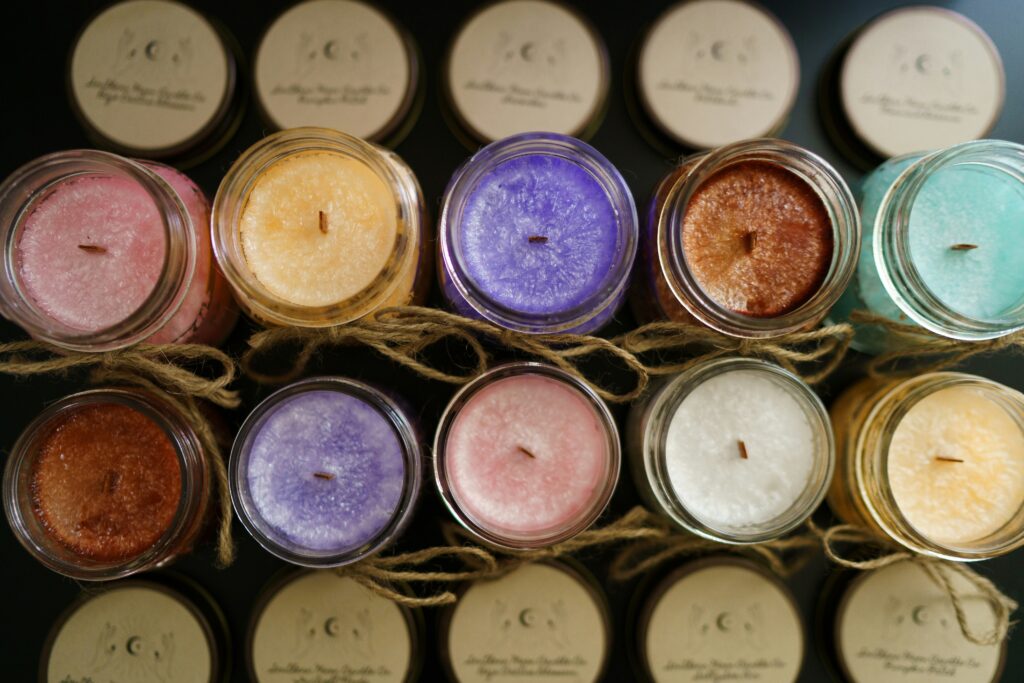
Want to take your soy candles to the next level? Consider coloring them! You can use candle dyes in block, liquid, or powder form. Keep in mind that a little goes a long way, so start small—you can always add more, but it’s tough to dial back if you overdo it. To add color, simply incorporate the dye into the melted wax before adding the fragrance. This creates an even distribution of color throughout the candle.
Mixing different colors can create beautiful layered effects, or you can keep it simple with one single color. If you’re feeling particularly artistic, try designing patterns by pouring different colored waxes in a specific order. The only limit is your imagination, so have fun with it!
Unique Container Ideas
While traditional glass jars are great for soy candles, don’t shy away from exploring unique container options! Repurposed items like teacups, tins, or even small pots can add character to your candles. You can even use silicone molds to create fun shapes—think holiday-themed designs or geometric forms!
Consider the size and shape of your container when pouring wax, as this will affect how the candle burns. For instance, wider containers generally require larger wicks. But remember, the world is your oyster—get creative and have fun with your choices!

Layered Candles for Extra Fun
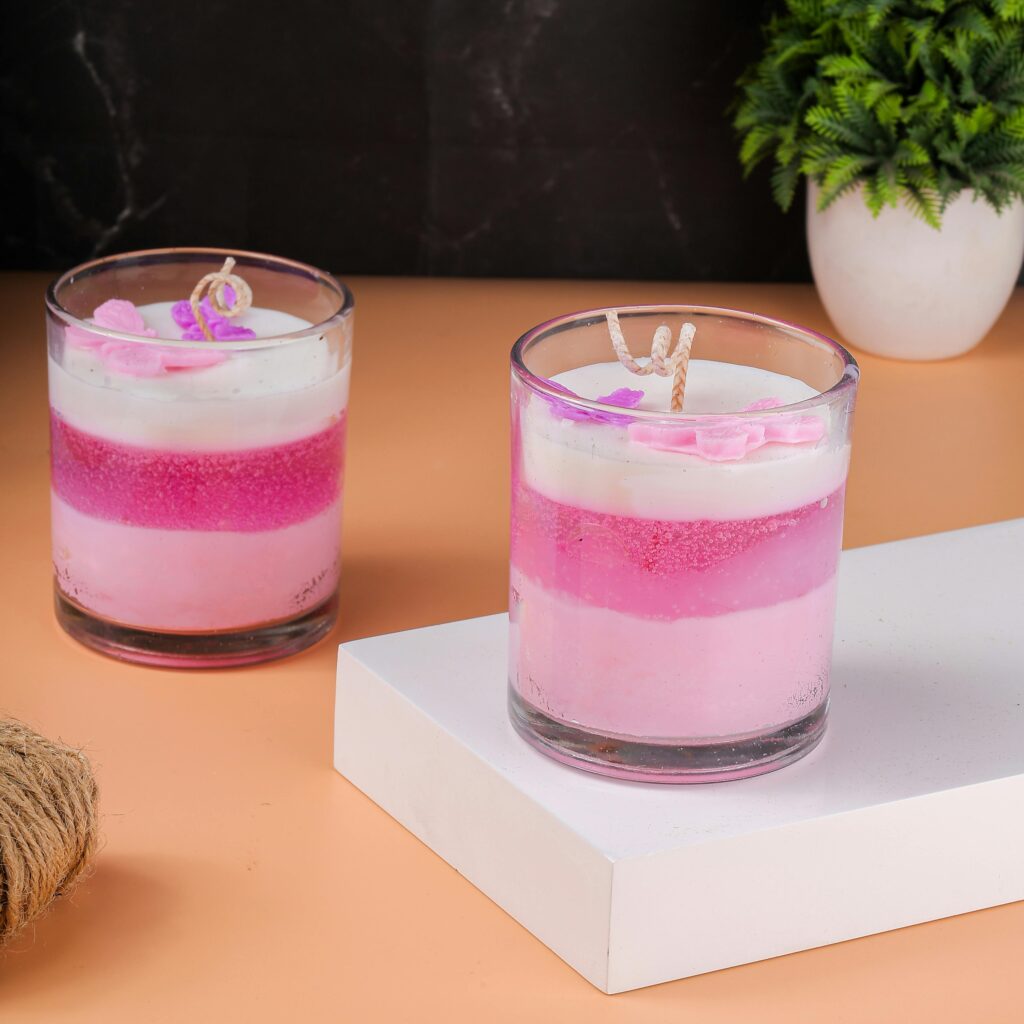
Layered candles are a fantastic way to combine different scents and colors. To create a layered candle, simply pour one layer of colored wax and allow it to cool until it’s firm to the touch before adding the next layer. This technique allows you to mix and match scents, creating a unique sensory experience when the candle is burned. Just keep in mind the cooling times for each layer to avoid any mixing disasters!
When creating layered candles, consider scent compatibility. For instance, a fresh citrus layer might pair beautifully with a rich vanilla layer, evoking a delightful combination when lit. Experiment with different layers to find what works best for your olfactory palette!
Common Mistakes and How to Avoid Them
Wax Too Hot or Too Cold
One of the most common mistakes when making soy candles is pouring the wax at the wrong temperature. If it’s too hot, the wax can burn off fragrance and lead to a poor scent throw. Conversely, if it’s too cool, the wax may not adhere to the wick properly, causing your candle to burn unevenly. Always use your thermometer to ensure your wax is within the right temperature range before pouring.
Additionally, if you notice any cracks or imperfections in your candle after it cools, don’t panic! This often occurs when the wax cools too quickly. Allow it to set at room temperature rather than in a cold environment. If you encounter issues, don’t hesitate to remelt the candle and start the process again—after all, practice makes perfect!
Wick Placement Woes
Wick placement can make or break your candle-making experience. If the wick is too close to the edge of the container, it may burn unevenly or even cause the candle to tunnel, where the wax burns away from the wick, leaving a thick wall of unburned wax. Always ensure your wick is centered and secure before pouring the wax. Using a wick holder, a popsicle stick, or a pencil can help keep it in place until it sets.
If your candle ends up burning unevenly, you can often fix it by adjusting the wick length during subsequent burns. However, it’s better to get it right the first time. Test your candle as you go, and don’t hesitate to make adjustments where needed!
Your Soy Candle-Making Adventure Awaits!
Congratulations! You’ve just learned how to make your own soy candles from scratch. This process not only allows you to create beautiful and functional art pieces but also lets you express yourself through scent and design. Whether you’re making them for yourself, sharing with friends, or even giving them as gifts, each candle is a reflection of your creativity.
Share Your Candle Creations!
Now that you know how to make soy candles from home, and you embark on your candle-making journey, remember that practice makes perfect. Don’t be afraid to experiment with different scents, colors, and designs. The world of candle making is vast and full of possibilities. So, gather your supplies, channel your inner artisan, and let your creativity shine! Whether you’re looking to create a beautiful ambiance for your home or simply want to enjoy the satisfaction of crafting something from scratch, soy candle making is the perfect hobby for you.
FAQs
How long does it take to make soy candles?
The entire process can take a few hours, including melting the wax, pouring, and allowing it to cure. However, the actual hands-on time is relatively short, typically under an hour.
Can I use essential oils instead of fragrance oils?
Yes, you can use essential oils, but it’s important to note that they may not provide the same strong scent throw as fragrance oils. Additionally, ensure they are suitable for candle making.
How do I know if my candle has a good scent throw?
To test the scent throw, burn your candle in a small room. If the fragrance fills the space, you’ve achieved a good scent throw! If not, consider adjusting the fragrance oil ratio in your next batch.
Do soy candles produce soot?
When properly made and maintained, soy candles produce minimal soot. Trimming the wick and ensuring a proper wick placement can help reduce soot production.
Can I reuse old candles to make new ones?
Absolutely! You can melt down the leftover wax from old candles and combine it with new wax to create fresh designs. Just be mindful of the previous scents and colors!

Leave a Reply